
wallbox pulsar plus installation manual
The Wallbox Pulsar Plus is a smart electric vehicle charger designed for home use, offering efficient and safe charging solutions with seamless app integration.
Key Features and Specifications of the Wallbox Pulsar Plus
The Wallbox Pulsar Plus is a high-performance, smart electric vehicle charger designed for home use. It supports up to 48 amps and 240-volt charging, delivering speeds of up to 11.5 kW or 7.2 kW, depending on the configuration.
- Compact and lightweight design with a 25-foot cable for flexible charging.
- Compatibility with all J1772-compliant electric vehicles.
- Wi-Fi and Bluetooth connectivity for seamless integration with the MyWallbox app.
- Adjustable charging modes, including timed charging and solar optimization.
- Durable construction with a matte black finish and IP54 weather resistance.
- Smart energy management features to monitor and control charging costs.
- Easy installation options, including hardwiring or NEMA 14-50 plug-in configurations.
- Built-in safety features, such as overcurrent protection and ground fault detection.
These features make the Wallbox Pulsar Plus a versatile and efficient charging solution for EV owners.

System Requirements and Compatibility
For proper operation, the Wallbox Pulsar Plus requires a dedicated 50A circuit and a 240-volt electrical supply. It is compatible with all J1772-compliant electric vehicles, ensuring universal charging capability.
- A dedicated 50A circuit is necessary to support maximum charging speeds.
- The charger requires a 240-volt electrical supply for high-power charging.
- Compatibility with J1772 standard ensures it works with most electric vehicles.
- The MyWallbox app requires a smartphone with iOS 12 or Android 7.0 and above.
- A stable Wi-Fi connection is needed for remote monitoring and control.
This compatibility ensures the Wallbox Pulsar Plus can integrate seamlessly with various EV models and home electrical systems.

Safety Instructions and Warnings
Ensure safety by adhering to these guidelines when installing or using the Wallbox Pulsar Plus. Always follow local electrical codes and regulations.
- Never touch electrical components with wet hands or while standing on a wet surface to avoid electric shock.
- Disconnect the power supply before performing any maintenance or repairs on the charger.
- Ensure the installation area is well-ventilated and free from flammable materials.
- Use only approved charging cables and avoid damaged or frayed cords.
- Keep children and pets away from the charger and cables during operation.
- Do not modify the charger or cables, as this may cause malfunction or fire hazards.
By following these safety instructions, you can ensure a safe and efficient charging experience with the Wallbox Pulsar Plus.

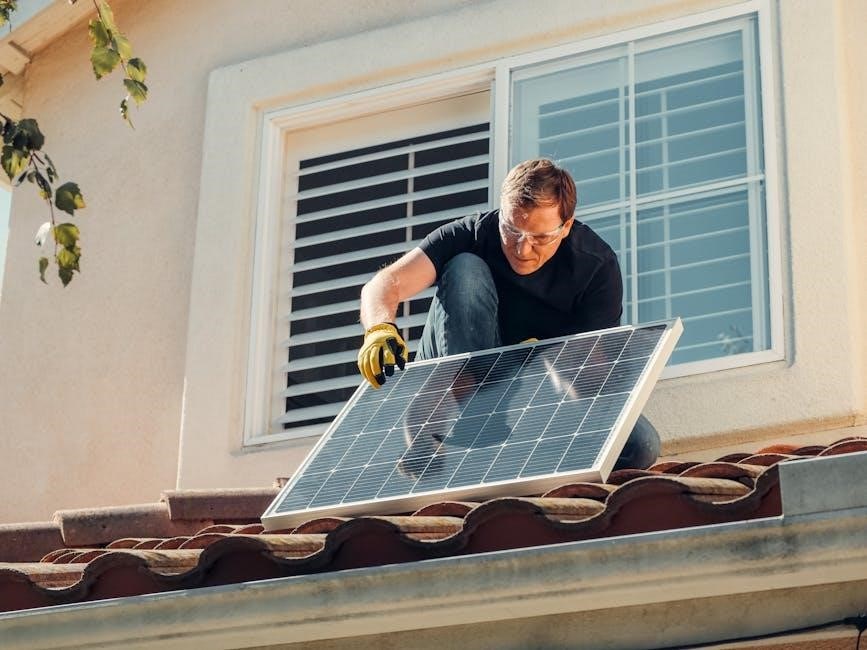
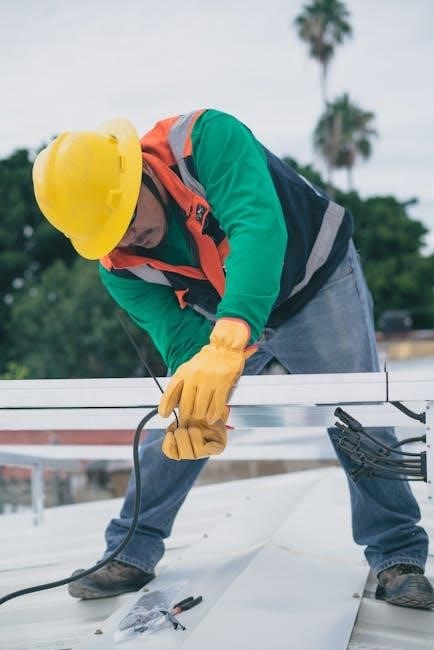
Installation Process
The Wallbox Pulsar Plus installation involves mounting the charger, connecting electrical components, and ensuring proper cable management. Follow the manual for a safe and successful setup.
5.1; Pre-Installation Preparation
Before installing the Wallbox Pulsar Plus, ensure all necessary tools and materials are available. Verify the electrical requirements match your home’s circuit capacity. Obtain any required permits or approvals. Check the charger’s dimensions to determine the optimal mounting location, ensuring it is near a suitable power source. Review the installation manual thoroughly to understand the process and safety guidelines. Prepare the wall by locating studs or ensuring it is solid enough to support the charger’s weight. Gather tools like a stud finder, drill, and screws. Double-check the charger’s compatibility with your vehicle and confirm the circuit breaker can handle the load. Ensure the area is clear and accessible for a smooth installation process.
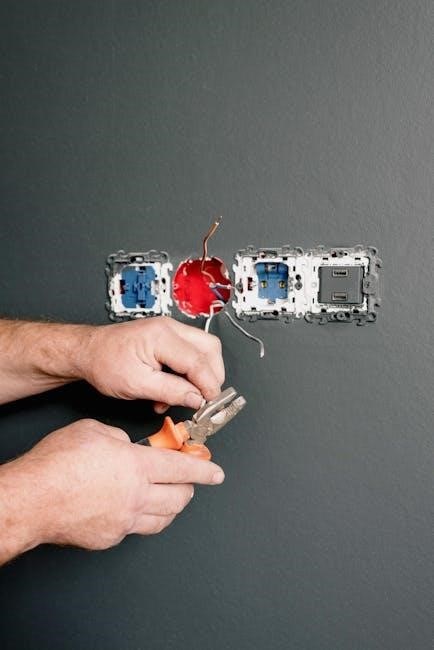
5.2. Hardwiring the Charger
Hardwiring the Wallbox Pulsar Plus requires a licensed electrician to ensure compliance with local electrical codes. Begin by turning off the power at the circuit breaker. Connect the charger’s terminal wires to the household electrical system, ensuring proper grounding for safety. Use a voltage tester to confirm the power is off before starting. Securely fasten the wires using appropriate connectors and follow the manual’s wiring diagram. Double-check all connections for tightness and correctness. Once wired, turn the power back on and test the charger to ensure it functions properly. If unsure, consult a professional to avoid electrical hazards or damage to the charger.
5.3. Plug-In Installation Option
The Wallbox Pulsar Plus offers a convenient plug-in installation option using a NEMA 14-50 receptacle. Locate the outlet near a wall stud for secure mounting. Insert wall anchors into pre-drilled holes or directly into the wall, then screw the holster into place. Ensure the outlet is installed by a licensed electrician to meet local codes. Plug the charger into the receptacle and test for proper operation. Verify that the circuit is dedicated and rated appropriately for the charger’s maximum power. Follow the manual’s guidelines for cable management to maintain a safe and neat setup. If unsure, consult a professional to ensure compliance and safety.
5.4. Cable Management Best Practices
Proper cable management ensures safety and maintains the charger’s efficiency. Route the charging cable neatly along the wall or floor, securing it with cable ties or clips to prevent tripping hazards. Avoid tight bends or kinks, as they may damage the cable over time. Use cable protectors or sleeves if running the cable over floors or through high-traffic areas. Keep the cable away from heat sources, such as heaters or direct sunlight, to prevent degradation. Ensure the cable remains accessible for regular inspection and maintenance. Secure any excess cable length to the wall or charger holster using the provided mounting hardware. Proper organization not only enhances safety but also prolongs the lifespan of the charging system.
5.5. Final Installation Checks
After completing the installation, perform a thorough inspection to ensure everything is functioning correctly. Verify that all electrical connections are secure and meet local codes. Test the charger by plugging in your vehicle and initiating a charging session. Check for any error messages or unusual noises during operation. Ensure the unit is properly grounded and that the circuit breaker does not trip during use. Inspect the cable for any signs of damage or wear. Confirm that the Wallbox Pulsar Plus is correctly paired with the MyWallbox app and that all features, such as scheduling and monitoring, are operational. Finally, review the installation manual to ensure all safety guidelines and recommendations have been followed. A successful final check ensures safe and efficient charging for your electric vehicle.

User Manual and Initial Setup
The user manual guides you through pairing the Wallbox Pulsar Plus with the MyWallbox app, navigating the interface, and setting up charging modes for optimal use.
6.1. Pairing with the MyWallbox App
To pair your Wallbox Pulsar Plus with the MyWallbox app, ensure the charger is installed and powered on. Download and install the app from the App Store or Google Play Store. Open the app and create an account or sign in if you already have one. Tap “Add Charger” and select the Pulsar Plus model. Follow the in-app instructions to connect the charger to your Wi-Fi network. Once connected, the app will confirm successful pairing. Use the app to monitor charging sessions, adjust settings, and receive notifications. If pairing fails, restart the charger and retry. Ensure your device and charger are on the same network for seamless connectivity. Troubleshoot any issues by checking network stability or contacting Wallbox support if needed. Proper pairing ensures full functionality and remote control of your charger.
6.2. Navigating the Charger Interface
The Wallbox Pulsar Plus features an intuitive interface with an LCD screen and buttons for easy navigation. The LCD displays real-time charging status, current, voltage, and elapsed time. Use the buttons to scroll through menus, adjust settings, or view diagnostics. The interface allows you to set charging modes, check historical data, and monitor energy usage. LED indicators provide visual feedback on the charger’s status, such as power, charging, or fault conditions. For advanced control, the MyWallbox app offers remote access to settings and detailed charging analytics. Ensure the charger is properly paired with the app for seamless integration. Familiarize yourself with the interface to optimize your charging experience and access all available features. The user-friendly design ensures easy operation for both novices and experienced users.
6.3. Setting Up Charging Modes
The Wallbox Pulsar Plus offers multiple charging modes to suit your needs. Access these modes through the MyWallbox app or the charger’s interface. To set up timed charging, ensure the charger is paired with the app and schedule your charging sessions to match your preferences. The app allows you to enable features like Eco mode to optimize energy consumption or Smart mode for cost-efficient charging. Additionally, AI mode can be activated to discharge your battery overnight while charging your EV, ensuring energy balance. Use the app to monitor and adjust these settings for a personalized experience. Properly configuring these modes ensures efficient, cost-effective, and convenient charging tailored to your lifestyle and energy usage patterns. Regularly review and update your settings to maintain optimal performance.

Troubleshooting Common Issues
Common issues include the charger not turning on, charging interruptions, or app connectivity problems. Check power supply, reset the charger, and ensure stable internet connection for resolution.
7.1. Charger Not Turning On
If the Wallbox Pulsar Plus charger fails to turn on, check the power supply and ensure the circuit breaker hasn’t tripped. Verify all connections are secure and tighten any loose wires. Ensure the charger is properly installed and configured according to the installation manual. If the issue persists, reset the charger by turning it off and on at the circuit breaker. Consult the user manual for specific troubleshooting steps or contact Wallbox customer support for assistance. Always follow safety guidelines to avoid electrical hazards.
7.2. Charging Interruptions
Charging interruptions with the Wallbox Pulsar Plus can occur due to power supply issues, overheating, or connectivity problems. Check if the circuit breaker has tripped or if there’s an unstable power supply. Ensure the charging cable is securely connected and free from damage. If using a non-OEM cable, verify its compatibility. Overheating may cause the charger to pause; ensure proper ventilation. Restart the charger and vehicle to reset the connection. If issues persist, consult the user manual or contact Wallbox support for further assistance. Always follow safety guidelines to prevent electrical hazards and ensure reliable charging performance.
7.3. App Connectivity Issues
If you experience connectivity issues with the MyWallbox app, ensure your Wallbox Pulsar Plus is properly paired and connected to a stable internet network. Restart both the charger and your device to reset the connection. Check for any pending software updates for the charger or app, as outdated versions may cause compatibility issues. Verify that your Wi-Fi network is functioning correctly and that no firewall or router settings are blocking the connection. If problems persist, reset the charger by turning it off and on, then attempt pairing again. For unresolved issues, contact Wallbox customer support at (888) 787-5780 or visit support.wallbox;com for further assistance.
Energy Management Features
The Wallbox Pulsar Plus offers advanced energy management features designed to optimize your charging experience. With smart charging capabilities, it can automatically adjust your charging schedule based on your energy usage patterns and preferences. The charger supports load balancing, ensuring that your household electrical system remains stable while charging your vehicle. Additionally, the MyWallbox app allows you to set custom charging schedules, enabling you to take advantage of off-peak energy rates or renewable energy sources like solar power. These features not only help reduce your energy costs but also promote sustainable and efficient energy use, making the Wallbox Pulsar Plus a versatile and eco-friendly charging solution for your electric vehicle.
Maintenance and Software Updates
Regularly clean the charger, check for software updates via the MyWallbox app, and run diagnostic checks to ensure optimal performance and functionality of your Wallbox Pulsar Plus.
9.1. Physical Cleaning of the Charger
To maintain the Wallbox Pulsar Plus, clean it regularly with a soft, dry cloth to remove dirt and debris. Avoid using harsh chemicals or abrasive materials, as they may damage the surface. For the charging port, gently wipe with a dry cloth or use compressed air to remove dust. Ensure the charger is dry before cleaning to prevent electrical issues. Never submerge the device in water or expose it to excessive moisture. Regular cleaning ensures optimal performance and longevity. Detailed cleaning instructions are provided in the user manual, available for download on the Wallbox support website.
9.2. Updating Software
To update the Wallbox Pulsar Plus software, ensure the charger is connected to the internet. Open the MyWallbox app and navigate to the charger’s settings. Check for available updates and follow the on-screen instructions to initiate the download and installation. Do not unplug the charger or interrupt the process. Once completed, verify successful installation by checking the app or charger interface. Regular updates enhance functionality and security. For detailed steps, consult the user manual or contact Wallbox support if issues arise.
9.3. Running Diagnostic Checks
To run diagnostic checks on the Wallbox Pulsar Plus, access the MyWallbox app and navigate to the charger’s settings. Select the “Diagnostics” or “Check Status” option to initiate a system check. The app will display the charger’s current status, including error codes or alerts. Review the diagnostic report to identify any issues, such as connectivity problems or hardware malfunctions. If issues are detected, follow the app’s troubleshooting guide or contact Wallbox customer support for assistance. Regular diagnostic checks ensure optimal performance and help resolve potential issues before they escalate. Refer to the user manual for detailed instructions on interpreting diagnostic results.

Customer Support and Resources
Wallbox offers comprehensive customer support and resources to assist with installation, troubleshooting, and general inquiries. For immediate help, contact Wallbox customer service at (888) 787-5780 or visit their support website at support.wallbox.com. Additionally, the Wallbox Knowledge Base provides detailed articles and guides for common issues and installation tips. Users can also access the Wallbox Academy for training materials and tutorials. For community support, join forums or groups where users share experiences and solutions. Ensure to consult the official resources for accurate and up-to-date information, as third-party advice may not align with Wallbox’s guidelines. Regularly check the Wallbox website for software updates, manuals, and FAQs to optimize your charging experience.
Warranty Information
The Wallbox Pulsar Plus is backed by a comprehensive warranty program, ensuring peace of mind for users. The standard warranty covers manufacturing defects and performance issues for a specified period, typically up to 3 years from the date of purchase. This warranty includes repairs or replacements for faulty components, provided the charger is used in accordance with the installation manual and safety guidelines. However, the warranty does not cover damage caused by misuse, improper installation, or external factors such as power surges or extreme weather conditions. For detailed terms and conditions, users should refer to the official Wallbox warranty documentation. Additionally, registering the product on the Wallbox website may be required to activate warranty benefits. Always ensure compliance with local regulations and manufacturer recommendations to maintain warranty validity.
The Wallbox Pulsar Plus installation manual provides a detailed guide to setting up and using your EV charger effectively. With its user-friendly design and advanced features, the Pulsar Plus ensures safe, efficient, and smart charging for electric vehicles. By following the installation steps, troubleshooting tips, and maintenance recommendations outlined in this manual, users can optimize their charging experience and extend the lifespan of their charger. Additionally, Wallbox’s customer support and warranty programs offer peace of mind for any issues that may arise. Whether you’re a new or experienced EV owner, the Pulsar Plus is a reliable and innovative solution for home charging needs. Always refer to this manual for best practices and to ensure compliance with safety standards.
FAQs
Can I install the Wallbox Pulsar Plus myself?
While the Pulsar Plus is designed for DIY installation, it is recommended to hire a licensed electrician to ensure compliance with local electrical codes and safety standards.
How long does it take to charge my EV with the Pulsar Plus?
Charging time depends on your vehicle’s battery size and the charger’s power output. The Pulsar Plus supports up to 48A, reducing charging time significantly compared to Level 1 chargers.
Is the Pulsar Plus compatible with all electric vehicles?
Yes, the Pulsar Plus is compatible with all vehicles that use the SAE J1772 standard, which includes most EVs sold in North America.
Where can I find the installation manual?
The installation manual is available for download on the Wallbox website or through the MyWallbox app. Physical copies may also be included with your purchase.